A Comprehensive Guide to Acoustic Treatment for Home Studios
By Sophie Andersen · · 4 min read
Creating a high-quality recording environment is essential for any music producer or musician. Acoustic treatment involves modifying a room’s acoustics to minimize unwanted sound reflections and improve overall audio quality. This article will explore the various aspects of acoustic treatment, its importance, and how to implement effective solutions for your recording space.
Understanding Room Acoustics
Before diving into acoustic treatment, it’s crucial to grasp the basics of room acoustics. Sound behaves differently in various environments. In a small, untreated room, sound waves bounce off walls, ceilings, and floors, leading to issues such as echoes, phase cancellations, and frequency buildup. These phenomena can drastically impact the clarity and quality of your recordings.
The Science of Sound Waves
Sound waves travel through air as vibrations. When these waves encounter surfaces, they can be reflected, absorbed, or diffused. Reflections can cause interference patterns, leading to uneven frequency response. Conversely, absorption materials can help reduce these reflections, leading to a more controlled sound environment.
To delve deeper into the science of sound and its properties, consider checking out Wikipedia’s article on sound.
Why Acoustic Treatment Matters
Acoustic treatment is vital for several reasons:
- Improved Sound Quality: Proper treatment can enhance the clarity and accuracy of recordings, allowing for a more professional sound.
- Better Mixing Decisions: When the room’s acoustics are controlled, it becomes easier to make informed decisions during the mixing process. This can reduce the chances of needing to rework mixes later due to poor acoustic judgment.
- Enhanced Listening Experience: Whether you’re recording or simply enjoying music, a well-treated room offers a more enjoyable listening experience.
Types of Acoustic Treatment
When it comes to acoustic treatment, there are two main categories: absorption and diffusion.
Absorption
Absorptive materials help reduce sound reflections by converting sound energy into heat. Common materials include:
- Acoustic Foam: These are often used on walls and ceilings to minimize high-frequency reflections. They come in various shapes and sizes, allowing for creative installations.
- Mineral Wool and Fiberglass Panels: These materials are denser and more effective at absorbing low to mid-range frequencies compared to foam. They can be mounted on walls or suspended from ceilings for best results.
- Bass Traps: Designed specifically to absorb low frequencies, bass traps are usually placed in corners where low-frequency buildup is most prevalent.
Diffusion
Diffusive materials scatter sound waves rather than absorb them. This helps maintain a lively sound without the unwanted reflections typical of untreated rooms. Various options include:
- Diffuser Panels: Often made from wood or plastic, these panels have varying depths and shapes to scatter sound waves effectively.
- Bookshelves and Furniture: Strategically placed bookshelves or furniture can act as natural diffusers, breaking up sound waves and preventing them from creating standing waves.
Implementing Acoustic Treatment
The effectiveness of acoustic treatment largely depends on the placement and arrangement of materials. Here’s how to get started:
Room Analysis
Before adding any treatment, analyze your room’s acoustics. Use an audio analysis tool to identify problem areas. Look for spots with excessive reflection or muddiness.
Treatment Placement
-
First Reflection Points: Identify the first reflection points by sitting in your listening position and having someone move a mirror along the walls. Wherever you can see the speakers in the mirror is a first reflection point. These areas should be treated with absorptive materials.
-
Corners: As mentioned earlier, corners tend to accumulate low frequencies. Placing bass traps in these areas can significantly enhance sound quality.
-
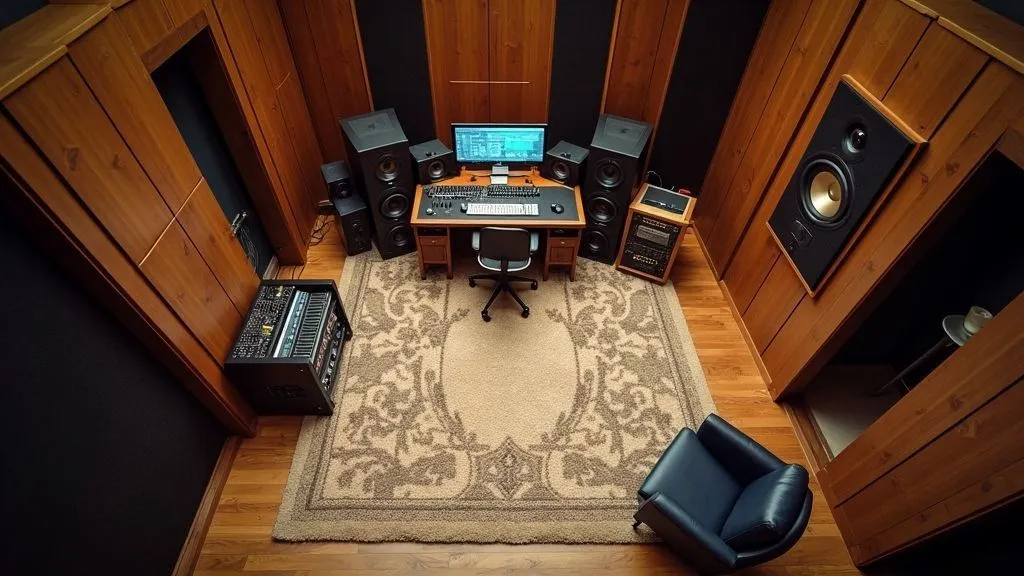
Ceiling and Floor: Don’t overlook the ceiling or floor. Hanging acoustic panels or using area rugs can help treat these surfaces effectively.
Testing and Adjusting
After installation, test the room again to evaluate the changes. If necessary, adjust the placement of treatments to optimize sound quality further. This iterative process allows for fine-tuning and helps achieve the best possible results.
DIY vs. Professional Treatment
For many, budget constraints may make DIY treatments appealing. However, professional acoustic treatment solutions can offer more precise results and often come with aesthetic options that enhance your space visually.
DIY Options
- Homemade Bass Traps: You can create bass traps using mineral wool or fiberglass insulation wrapped in fabric. This is an effective and budget-friendly solution.
- Wall Panels: Consider making your own acoustic panels using plywood, insulation, and fabric. The right design can offer substantial benefits without breaking the bank.
When to Hire Professionals
If you’re serious about your sound and have the budget, hiring professionals can save time and ensure optimal results. Experts can analyze your space and provide tailored solutions that address specific acoustic challenges.
Conclusion
Acoustic treatment is a vital component for anyone serious about music production. By understanding the principles of sound and implementing effective treatment strategies, you can create a recording environment that meets professional standards. Whether you choose DIY methods or professional solutions, the benefits of investing in your studio’s acoustics will reflect in the quality of your music.
For more insights on room acoustics and audio engineering, visit the Audio Engineering Society and discover a wealth of resources available to help you enhance your sound.